I’m going to have to thank Cheryl Payne for this tutorial. She emailed me a little while back asking for guidance on how to make traveller’s notebook inserts and she gave me a lovely compliment of saying my tutorials were easy to follow. So this is really for Cheryl (although I am sorry it is a little late!). I must start with a big word of warning – I don’t actually own a traveller’s Notebook so I have not printed these out or tested them. This is just a tutorial of how I would make them if I had a traveller’s notebook…
I’ll be making a simple dotted page for the passport size of notebook but first of all we need are trusted Publisher, so start by opening that up.
Start menu > All Programs > Microsoft Office > Microsoft Publisher
Next we need to create a blank template to the correct size, as it’s not standard you’ll need to create a new template. The first screen in Publisher should be the select your template.
Click More Black Page Sizes > Custom > Create new page size…
Width:8.9cm
Height 12.4cm
Margin guides – set all to zero.
I’m going to make this a dotted note paper and to do that I’m going to create a table that is 5mm x 5mm.
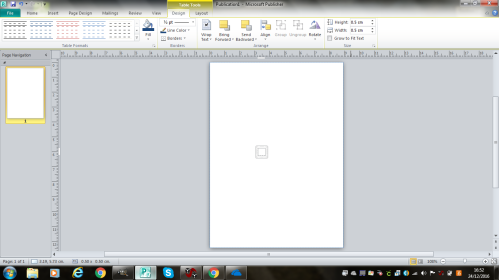
Insert > Table > 1×1 Table
Once the table is created
Double click the table > Change width and height to 0.5cm

You’ll need to insert 18 squares across the width of the page.
Right click the table > Insert > Right
Keep going until you’ve inserted 17. To speed up the process you can highlight multiple boxes and insert right. If you select three boxes you’ll insert another three.
Align > Align Right
Will set your table to the right side.
Next we need to create 25 rows.
Right click the table > Insert > Below
This will create a slightly bigger table than the height of the page. Don’t worry about that.
Now we need to create the dots. Click the mouse to the first cell. Then go to the main task ribbon.
Insert > Symbol > Middle Dot (Character Code 00B7)
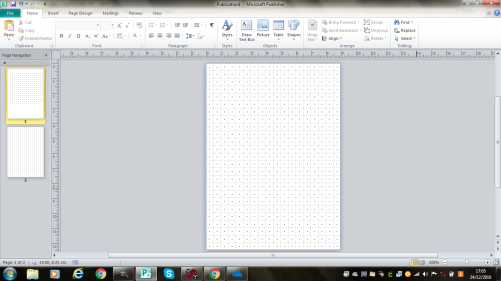
Copy and paste the dot into each box by highlighting the first cell and pressing Ctrl + C and Ctrl + V. Once you completed the first role you can copy and paste the dot into each row.
Once each box has a dot in you have completed the page. You can then duplicate the page by.
Right clicking page 1 on the left hand side of the screen > Insert Duplicate Page

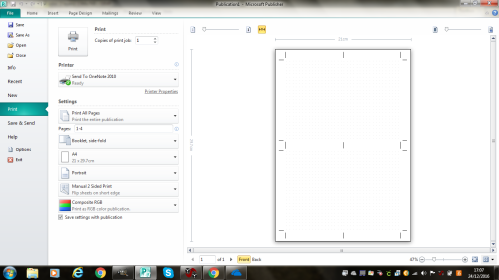
Now this is just a basic template you can jazz it up and get as fancy as you want with it. Just remember that a traveller’s notebook consists of four sides to one sheet of paper. To help explain this a bit better take a scrap of paper and fold it in half. There are four faces to the book. When printing faces 1 and 4 (the front and the back page) will be printed together and faces 2 and 3 will be printed on the back. It doesn’t really matter how they are printed in this tutorial, but it is more important when you design your own layouts. A trick to making it easier for you is to select the select the printing option of Booklet side-fold, as this will calculate the order of the page for you when printing. For a more in depth look at printing inserts please read my original post. The only different would be not to cut the centre crop marks but to merely fold the page over. If going more complicated layouts it’ll be a good idea to think of margin spaces to the left and right of each page as a fold may effect template design. I’d aim for a margin of about 2-3mm.

I hope this helps anyone looking to make your own TN inserts. If you have any question please feel free to add a comment below.

One Reply to “”